Sunday, December 09, 2012

JUnit Step By Step (Basic Introduction) Part-1.1


Prerequisites:
A.) Windows / Ubuntu machine :)
B.) Eclipse IDE (I am using Eclipse Platform Version: 4.2.1-JUNO) or any IDE which support   
      JUnit. You can search google in this regard "IDE supported JUnit framework"
C.) Knowledge of Java language. 

Steps:
1.) Run eclipse and install JUnit plugin if its not pre-install with your IDE. 

2.) http://www.junit.org/ (From this location you can also download JUnit)
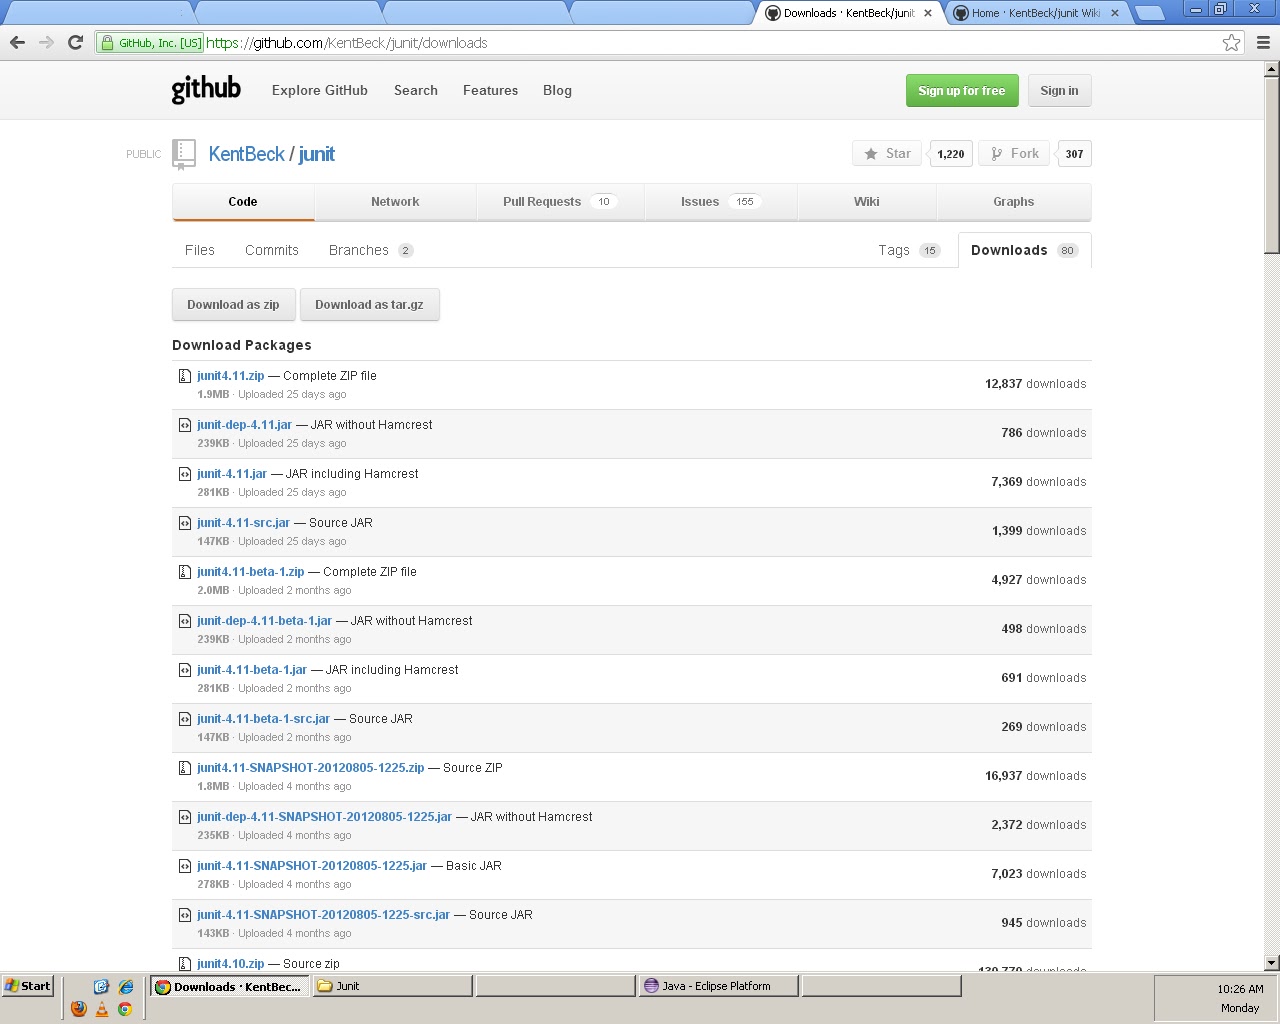

3.) Download: junit4.11.zip — Complete ZIP file

4.) For more information regarding JUnit: https://github.com/kentbeck/junit/wiki

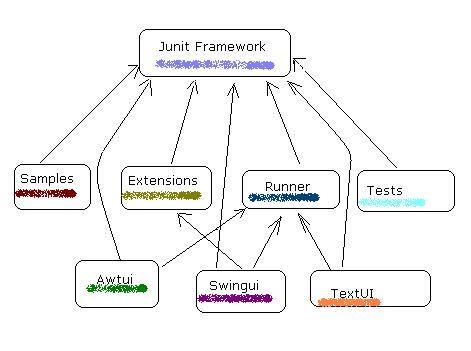
5.) JUnit Mind -Map regarding its packages and there dependencies:


Java’s Unit Testing Framework basic layout in Eclipse IDE


  1.) Create the class that you will want to test.
        For example: Class name = Bug

  2.) Build the test class - with the needed imports and extensions for   
        JUnit.

   2.1) We extend from junit.framework.TestCase.
   2.2)We name the test methods with the prefix “test”.

  3.) Code the actual test cases.
   3.1) We validate conditions using one of the several assert methods.
   
   import junit.framework.*; //JUnit compulsory component added)//
   
   public class TestFailure extends TestCase 

  {

   public void testSquareRootException() 
  {
   try 
  {
  SquareRoot.sqrt(-4, 1);
  fail("Should raise an exception");
  }
  catch (Exception success) { … }
  }

Saturday, June 30, 2012

Junit Integration in Eclipse IDE

Junit Integration in Eclipse IDE 


Follow these Links: 


1.) http://onjava.com/pub/a/onjava/2004/02/04/juie.html?page=1


2.) http://onjava.com/pub/a/onjava/2005/07/13/pisces.html?page=1


Links contents are old in nature but it really help novice users to gain Junit information.  

Thursday, May 31, 2012

JUnit Session 1 basics

For JUnit we need some tools to run this application / JUnit jar

1.) Go to JUnit site (www.Junit.org)
2.) Click on Downloads for the *.jar >> https://github.com/KentBeck/junit/downloads
3.) Kent Beck is the original creator of JUnit :) 
4.) Select the latest one as per requirement, if you are not aware which one to use, use the Basic.jar
5.) Jar is a build bundle of pre-compiled Java code. 
6.) Download eclipse IDE and this will help us to use JUnit jar in later run.

Soon going to add the screen-shots steps for above basic requirements steps. 

Till that time try to go through JUnit site documentation just for information. 

Don't worry of things as we all are in the same boat, happy learning and sharing :)    

The USB-C Moment for AI: A Student’s Guide to the Model Context Protocol (MCP)

  The USB-C Moment for AI: A Student’s Guide to the Model Context Protocol (MCP) In the rapidly evolving world of Artificial Intelligence, ...